How to Draw a Feather With Colored Pencils
by Derrick Bruno
Http://HalfEvil333.com
Thank you for your Donation & Support!
https://www.pinterest.com/pin/60869032440589807/
Welcome back to my free art lessons page. In this lesson I will teach you a fun way to create feathers with character and color. I had many suggestions on what colors to use and I got an overwhelming amount of purples and blues, but you may choose any combination of colors that you like. We will focus on our strokes, directional shading, and color blending in this lesson this time around. So shall we begin?
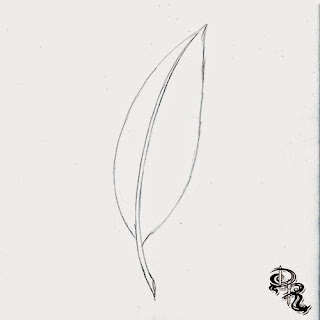
Step 1: To start this lesson we are going to create a basic line sketch of our feather. Start with the quill of the feather to create your curve. Once you have the shape of the feather you would like begin sketching from the bottom up to create an outline as shown below.
Tip: You can also get a bit creative and play with different shapes of feathers or use a reference of a specific feather you would like to draw. I encourage imagination & originality.
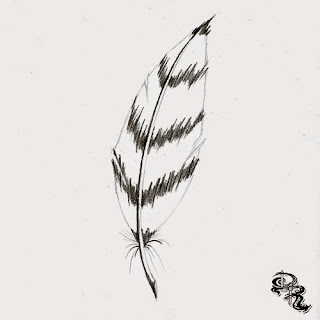
Step 2: In this step we are going to add a bit of character to the feather which will also help us with the coloring. Erase a couple sections in the sides of the feather to add breaks in the feather. Once you are satisfied with the look of your feather add some loose strings to the bottom near the base to show breakage. Once finished, we are now ready to grab some color.
Step 3: Starting with the color Black we are going to start giving the feather direction and shape. Make sure your pencil is sharpened nicely and start off by shading in a V like pattern up and down the feather like a Richter scale. Once you have this area shaded in re-sharpen your pencil and add in some line strokes through the shading.
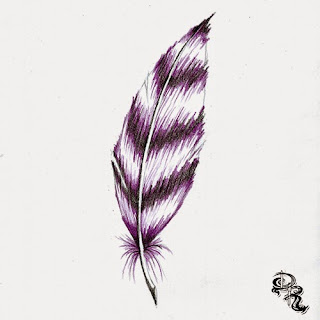
Step 5: Next we are going to add our blue to the feather. For this portion I used a Royal Blue colored pencil to have a nice bold color to blend into the purple. Color over the purple and black areas and expand the strokes a little further outward to cover more of the feather. Remember to follow the same direction of strokes from the stem to the end of the feather. Create a feathering effect on the border of the feather with small jagged strokes along the edges of the feather. This will give the illusion of individual hairs. Once finished sharpen your Royal Blue color and make individual strokes from the shaft to the edge one by one. This will create a sense of shading across the feather.
Step 6: For the last step we are going to add the final color and do some clean up work. I used a Sky Blue color to finish this feather off. Using the sky blue you are going to cover the feather completely, but remember to color in the direction of the feather hairs. From the stem to the edge. This is important because if you go left and right or in circles you will lose that illusion of individual strands that we are going for. Once you have the look you are going for we are going to clean up the feather by adding more Black and some Gray for the stem. Begin by going over the black once more to bring it out some more. Add a couple of strokes across the feather and the edges to create some shading. Once you are satisfied, use the gray to shade in the stem to complete the drawing.
This is a fun lesson to repeat in many different ways. You can create some very cool feathers by adding swirl designs, or playing with different colors. Just remember to have fun with it and make it your own drawing. The most important skill you want to take a way from this lesson is the directional shading, and the different strokes you get from a sharpened pencil and a dull one. Both have their advantages.
I hope you enjoyed this lesson. Remember to subscribe to my blog for more Free art lessons, and Advice on how to get past the many road blocks we face as artists. Have a great day.
Follow me on Pinterest for a complete set of Lessons with quick links and great images.


